Santana 22 "Dayspring" Continued
 Back in late 2009 I sold off my beloved Santana 21. The reasons in brief, it was time to not have it in the driveway and I wanted a boat with a solid One-Design class association so I could do some low key racing. At about the same time, I purchased "Dayspring" an old Santana 22 that had been a teaching boat. As noted by many others, there is no such thing as a "cheap" boat and I knew this ahead of time, but still bought it for a pittance.
The rigging looked solid and the boat, though rough, looked functional. I made the List, the list of issues to be addressed. One of the local S22 sailors in the area sold me a set of old, but functional sails for $50 and that let me get out. The sails that came with the boat were totally shot and I knew I would budget getting replacements made before starting to race in 2010.
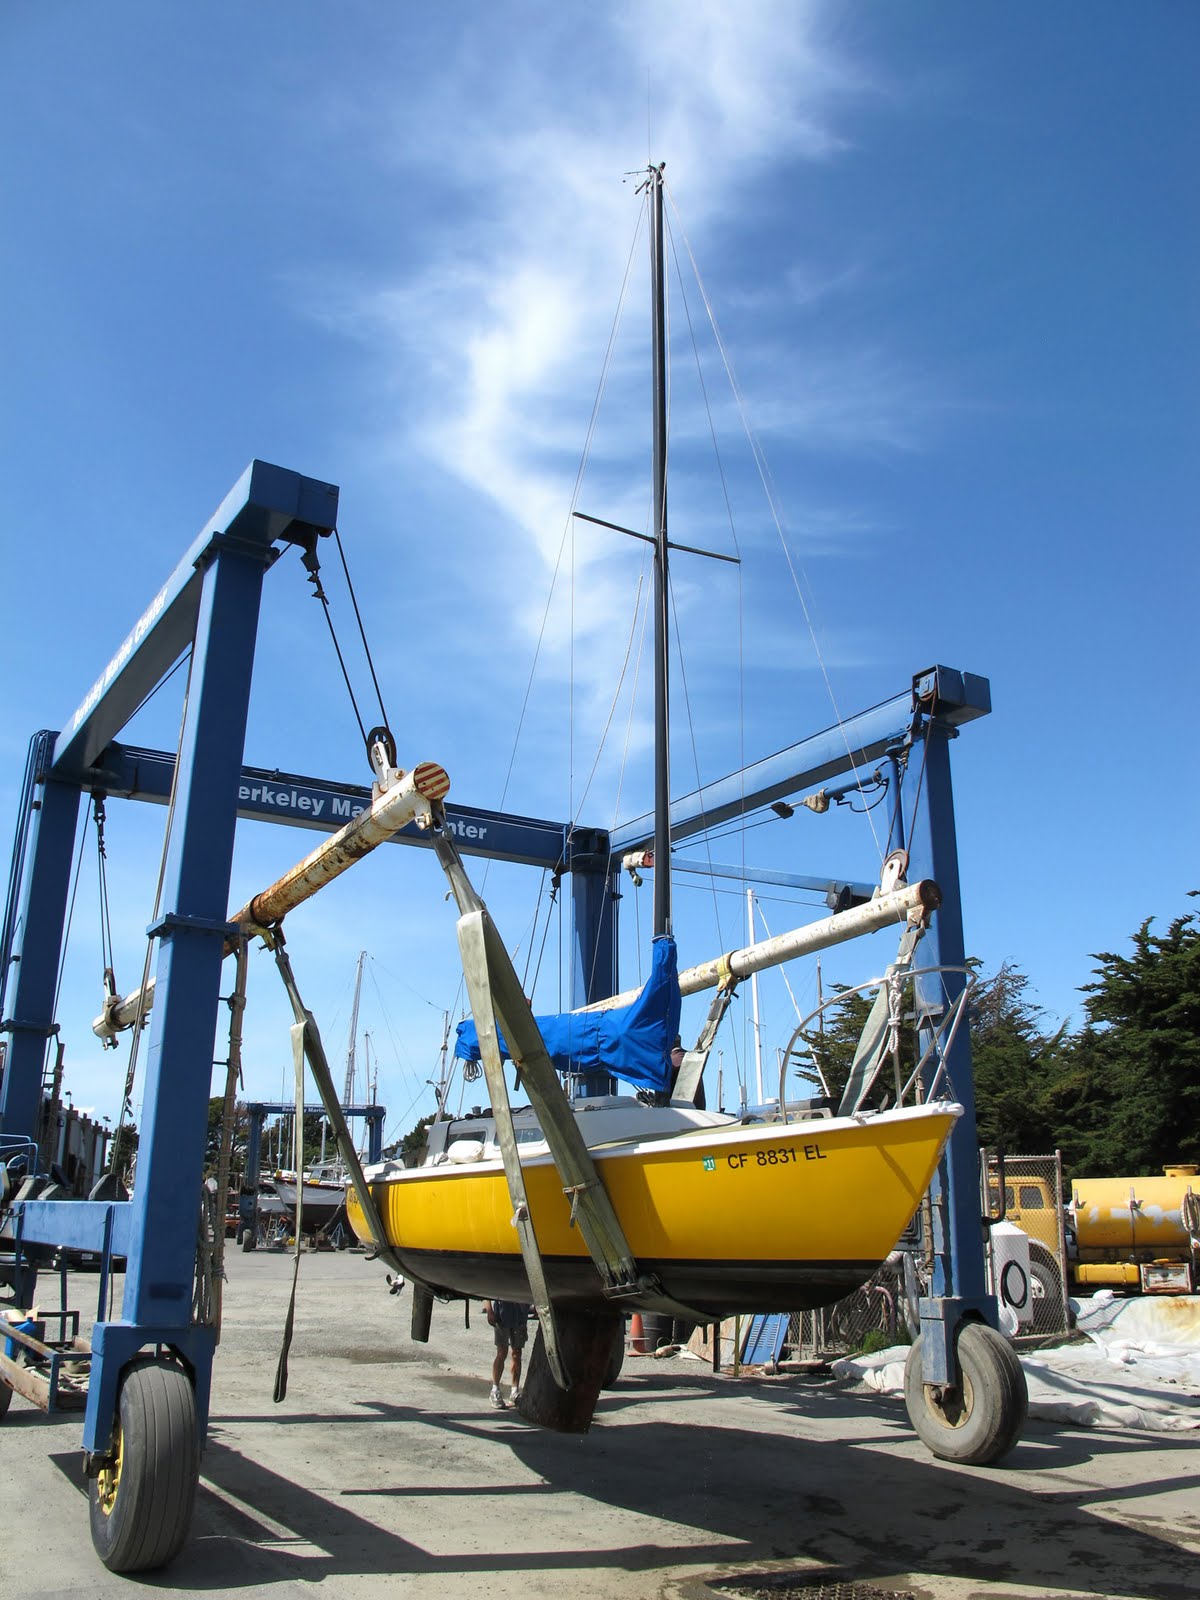
The first big deal was to get the bottom done. This after some minor patching of holes where some idiot had removed the lifeline stanchions and then covered the mounting holes with duct tape. After looking at the price of paint, lift fee's etc. I decided it made more sense to just have the bottom painted. I scheduled the haul out for a Friday knowing that I could do some work over the weekend before the painting began without having to pay for lay days. This hasn't worked out as planned. One of the other chores I wanted to do was change out the keel bolts. I've read that Schock spec'd the original bolts for a 30 year lifespan and that keels have actually fallen off.
I picked up the new stainless bolts from Steve Seal in Alameda. He ran through the recommended method of replacement. Soaking the nuts with penetrating oil and then replacing the bolts one at a time, bedding them in marine caulk after removing any rust from the keel flange. I just didn't see this as being efficient. The bolts were obviously too corroded to waste time breaking the nuts loose. I can't recommend what I have done, but it so far progressing well.
I opted to cut the nuts with a cutting wheel fitted to my grinder. The first bolt was chopped and I pounded it through with a small hand sledge and a piece of steel rod I use as a punch. This was very quick, maybe 10 minutes. I had told my friend Matt as we drove up, that boats are a lot like old houses, you really don't want to pull on that loose board for fear of what you may find under it. A relatively simple job can quickly spiral out of control.

When I hammer out the bolt a bunch of material falls out from under and around the keel flange. It turns out that on this hull, the manufacturer decided to not use caulk, but instead used a thickened epoxy. This kept the water out for the last 40 years, so I guess I cannot second guess the reasons for this, but it became immediately obvious that the keel would have to be dropped.
I had asked Matt to help me out for the day, I asked him to take over cutting the nuts off. We went to OSH to pick up some 11" threaded rod to keep the keel aligned with the hull and enough wood to contsruct a cradle to keep the keel from falling over once freed. The keel weighs in at 1270 pounds of iron shaped into a foil, the idea of it falling over was not a pleasant one.
As I constructed the cradle Matt kept chopping bolts. The first and the last two we replaced with the threaded rod and bolted them in place, this kept hull and keel connected while the remaining bolts were removed.
After pulling the first bolt, I have to say I was bummed. The steel looked good on the inside and the screw head was intact. I was thinking to myself that this has been an unnecessary waste of time, that the bolts, though ugly, were fine. The remaining bolts justified the enterprise. Of the eight, there were three that could have been described as passable. It is obvious now that it was these which still held the keel. The remaining bolts were all in bad to terrible condition. I was greatly relieved to see this, not because I and others had escaped of having a keel failure, but because it meant dropping the keel was worth it.

That rusty blob in the middle is actually one of the screw heads. As Matt was grinding the sea water in inside a cavity started to boil and it bubbled out once the nut was removed. Bad.
Here is an image of the keel cradle
 , I think it was either 6 or 8 eight foot 2 x 4's.
Here is an image of Matt after grinding. All in all, it took maybe 3 hours, not including the trip to OSH to construct the cradle and get all the bolts out. That bottle he's holding is some of my home brew porter.

The job is not yet complete, my work week started.
Comments
:)